Thanksgiving Tips: How to Prep a Turkey
A perfectly cooked turkey is the most important part of any Thanksgiving meal. Whether you are hosting Thanksgiving for the first time or a Turkey Day veteran in need of a refresher course, our comprehensive turkey-cooking guide is sure to come in handy. Read on for instructions, including a list of everything you need and countless tips for a delicious holiday bird.
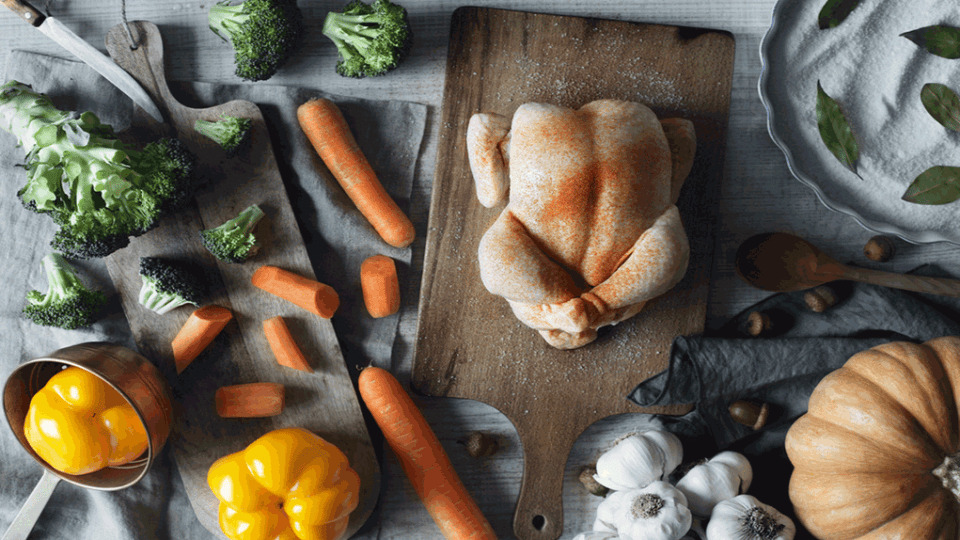
What You Need
In addition to the turkey itself and any stuffing ingredients, marinades, or seasonings you need to perfect it, there are a few tools you should have at your side before you begin your roast:
- A medium weight roasting pan for the turkey
- A turkey rack that fits inside the pan
- An instant-read meat thermometer
- Butcher’s twine (if you plan on stuffing and trussing)
- Kitchen scissors
- A sharp slicing knife with a serrated blade for carving and presenting
Steps
1. Buying:
Choosing a turkey isn’t as simple as you might expect. There are free-range, organic, natural, kosher, conventional, heritage, wild, and self-basting options to choose from. While you may not delve that far into the decision, everyone takes a stance on the fresh vs. frozen debate. Some people swear by the fresh option, but there’s little difference between the two when it comes to supermarket turkey. If you are getting yours from a local farm, don’t buy it more than two days before cooking.
Now, how much do your guests really need? We suggest at least one and a half pounds of turkey per person, but make sure you get enough for leftovers!
2. Thawing:
If you choose to defrost your turkey in the refrigerator, count on 24 hours of thawing time for every five pounds of turkey. For quicker thawing, place the turkey in its original packaging in a pan of cold water. Change the water every 30 minutes and allow 30 minutes of defrosting time for every pound of turkey. You can start seasoning even as the turkey defrosts. Make sure it is completely thawed before you start cooking.
3. Cleaning:
Before you start roasting, be sure you remove any giblets and cook those separately. You can save these for making stock or use them in your gravy. If you can’t find them in the cavity, look under the neck flap as some brands store them in different spots.
We recommend that you don’t rinse or wash your turkey. Any potential bacteria will be cooked away in the oven. Just be sure to wash your hands at the beginning and end of the process.
4. Brining:
If you decide not to opt for a kosher or self-basting turkey, you may want to brine it to ensure evenly seasoned, moist meat. The most common way is a wet brine, where you submerge your bird in a salt-water solution for eight to 48 hours. The safest way is to leave it in the refrigerator securely covered. You can also dry brine your turkey, which is similar to adding a salt rub directly on the bird’s skin. Use paper towels to pat it dry of raw juices before beginning a dry brine.
5. Stuffing:
Whether you know it as stuffing or dressing, a savory Turkey filling is a quintessential side on any proper Thanksgiving menu. Trussing, or securing the drumsticks and wings with twine, will help keep the stuffing in place. While cooking the stuffing inside the turkey can maximize the flavor, it will slow down the roasting time. You can also cook the stuffing in a casserole dish outside the bird, adding stock and bits of crispy fried turkey skin to make up for any lost flavor.
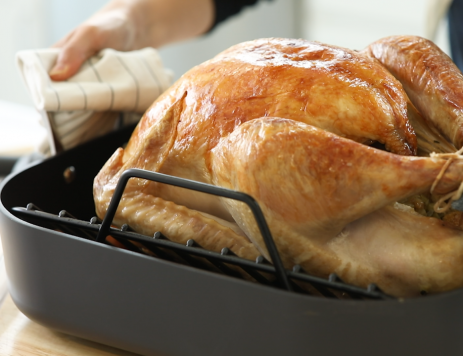
6. Cooking:
When it comes to roasting a turkey, the rule of thumb is 13 minutes per pound. Some people prefer low and slow, but the easiest method involves cooking at 450°F for the fist 20 minutes, then covering the breast with foil and reducing the temperature to 350°F for the remaining time. Place aromatics, like onions, lemon wedges, garlic cloves, bay leaves and other herbs in the turkey or alongside it in the pan for maximum flavor.
To keep your turkey moist, you can either baste every 45 minutes or add some fat, like butter or olive oil, before tucking it into the oven. Even if your turkey has a pop-up thermometer included, check the temperature with a meat thermometer at least 30 minutes before you think it may be done. Test the thickest part of the breast, as well as the thigh and wing, for a temperature of 165°F.
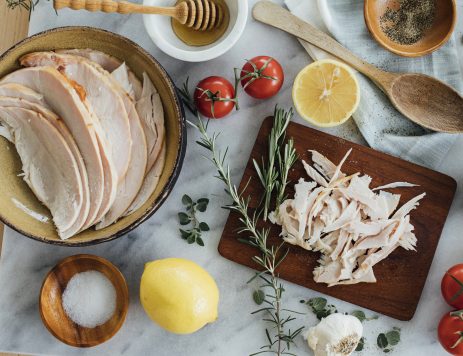
7. Carving:
Let the turkey sit for 20 to 30 minutes after cooking to allow the juices to settle and make carving easier. To begin, place the turkey on a carving board and remove any string you may have added in the stuffing and trussing process. Remove the wings, legs, thighs and drumsticks next, placing the knife against the joints and applying pressure. Then, use your fingers to pull the wishbone from the front end of the breast. This makes it easier to remove meat from the breastbone. Finally, slice the thigh and breast meat and present along with the wings and drumsticks.
8. Storing:
Turkey can be stored for three to four days in the refrigerator and up to six months in the freezer. Make sure you put the meat away within two hours of cooking completion. Leftovers can be used in soup, sandwiches, casseroles or anything else you may think to create.
Note on Safety
To prevent food-borne illness, the USDA suggests keeping turkey and other raw meat from contaminating other foods. Clean your hands, utensils and surfaces after working with the meat and use separate cutting boards for meat and fresh produce.
Now that you’re ready to tackle the turkey, check out some of our delicious Thanksgiving side dish recipes, like our green bean casserole, sausage stuffing and cranberry conserve.