
How to Take Better Food Photography
We’re all guilty of it. We can’t help it. We’re about to eat something delicious and the world has to know! Whether it’s Facebook, Instagram or a text to your mom, we want the photo to do the dish justice.
Check out our tips and tricks for taking the best food pictures below. You’ll not only make your posts more likable and more share-worthy, you’ll find your inner food photographer too.

Lighting
Lighting plays a crucial role in how pictures turn out, especially if you’re working with a cell-phone camera. Natural lighting tends to be best. If the weather is good, try taking the plate outside for a quick snap! Try “soft lighting” (like under the shade of a tree) and “direct lighting” (in full sunlight) to see which looks best through the camera’s lens.
Artificial lighting indoors can also make great pictures—just avoid flashes. Try moving the plate under different light sources to see where it looks best. You’ll quickly see where there’s harsh glare or unwanted shadows.
Teamwork can help: See if a friend is willing to hold a flashlight on the food while you take the picture.
Composition
There are three main views that reliably make great food photos:
- The “front three-quarters view” captures how food appears to us when we sit at a table, Taken roughly 45 degrees in front of the subject, hold the camera close and then far away to see where the food looks best in the frame.
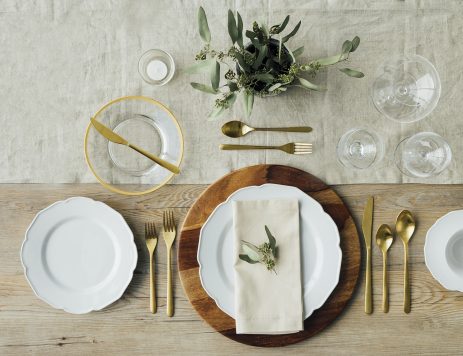
- The “top-down view” (also known as a bird’s-eye view) sometimes requires standing on a step stool. Getting directly above your subject often creates blog-worthy photos. This angle looks especially good with large platters or varied spreads.
The “side view” is perfect when you have foods that are stacked together (like a club sandwich) at table level. This perspective shows off layers of food in great detail, and creates visual interest.
Staging
Time to play with your food! Try turning the plate to see which side has the best angle. You’ll also want to look for the right background. Photos should be centered on the food, but adding a view of the right surroundings helps.
If it’s something you’re making at home, try having ingredients in the foreground or background. Sometimes having a fork balanced on the plate or cutting a sandwich in half will add depth and interest. Take pictures as you try different ideas, and then see which looks best as you compare them side by side.
Editing
The best food shots are the ones that look the most realistic. That means that you’ll want to shy away from filters and lots of edits. On the other hand—cropping out a corner that looks too busy can really help and you might want to adjust the brightness or contrast to liven up an image that appears dull. After that, it’s best to resist the temptation to tinker with the image.
Great food photography takes practice, but these tips will set you well on your way to frame-worthy snaps of your favorite dishes. Remember to have fun with it: Creativity is key. Food is meant to be enjoyed and so are food photos!
